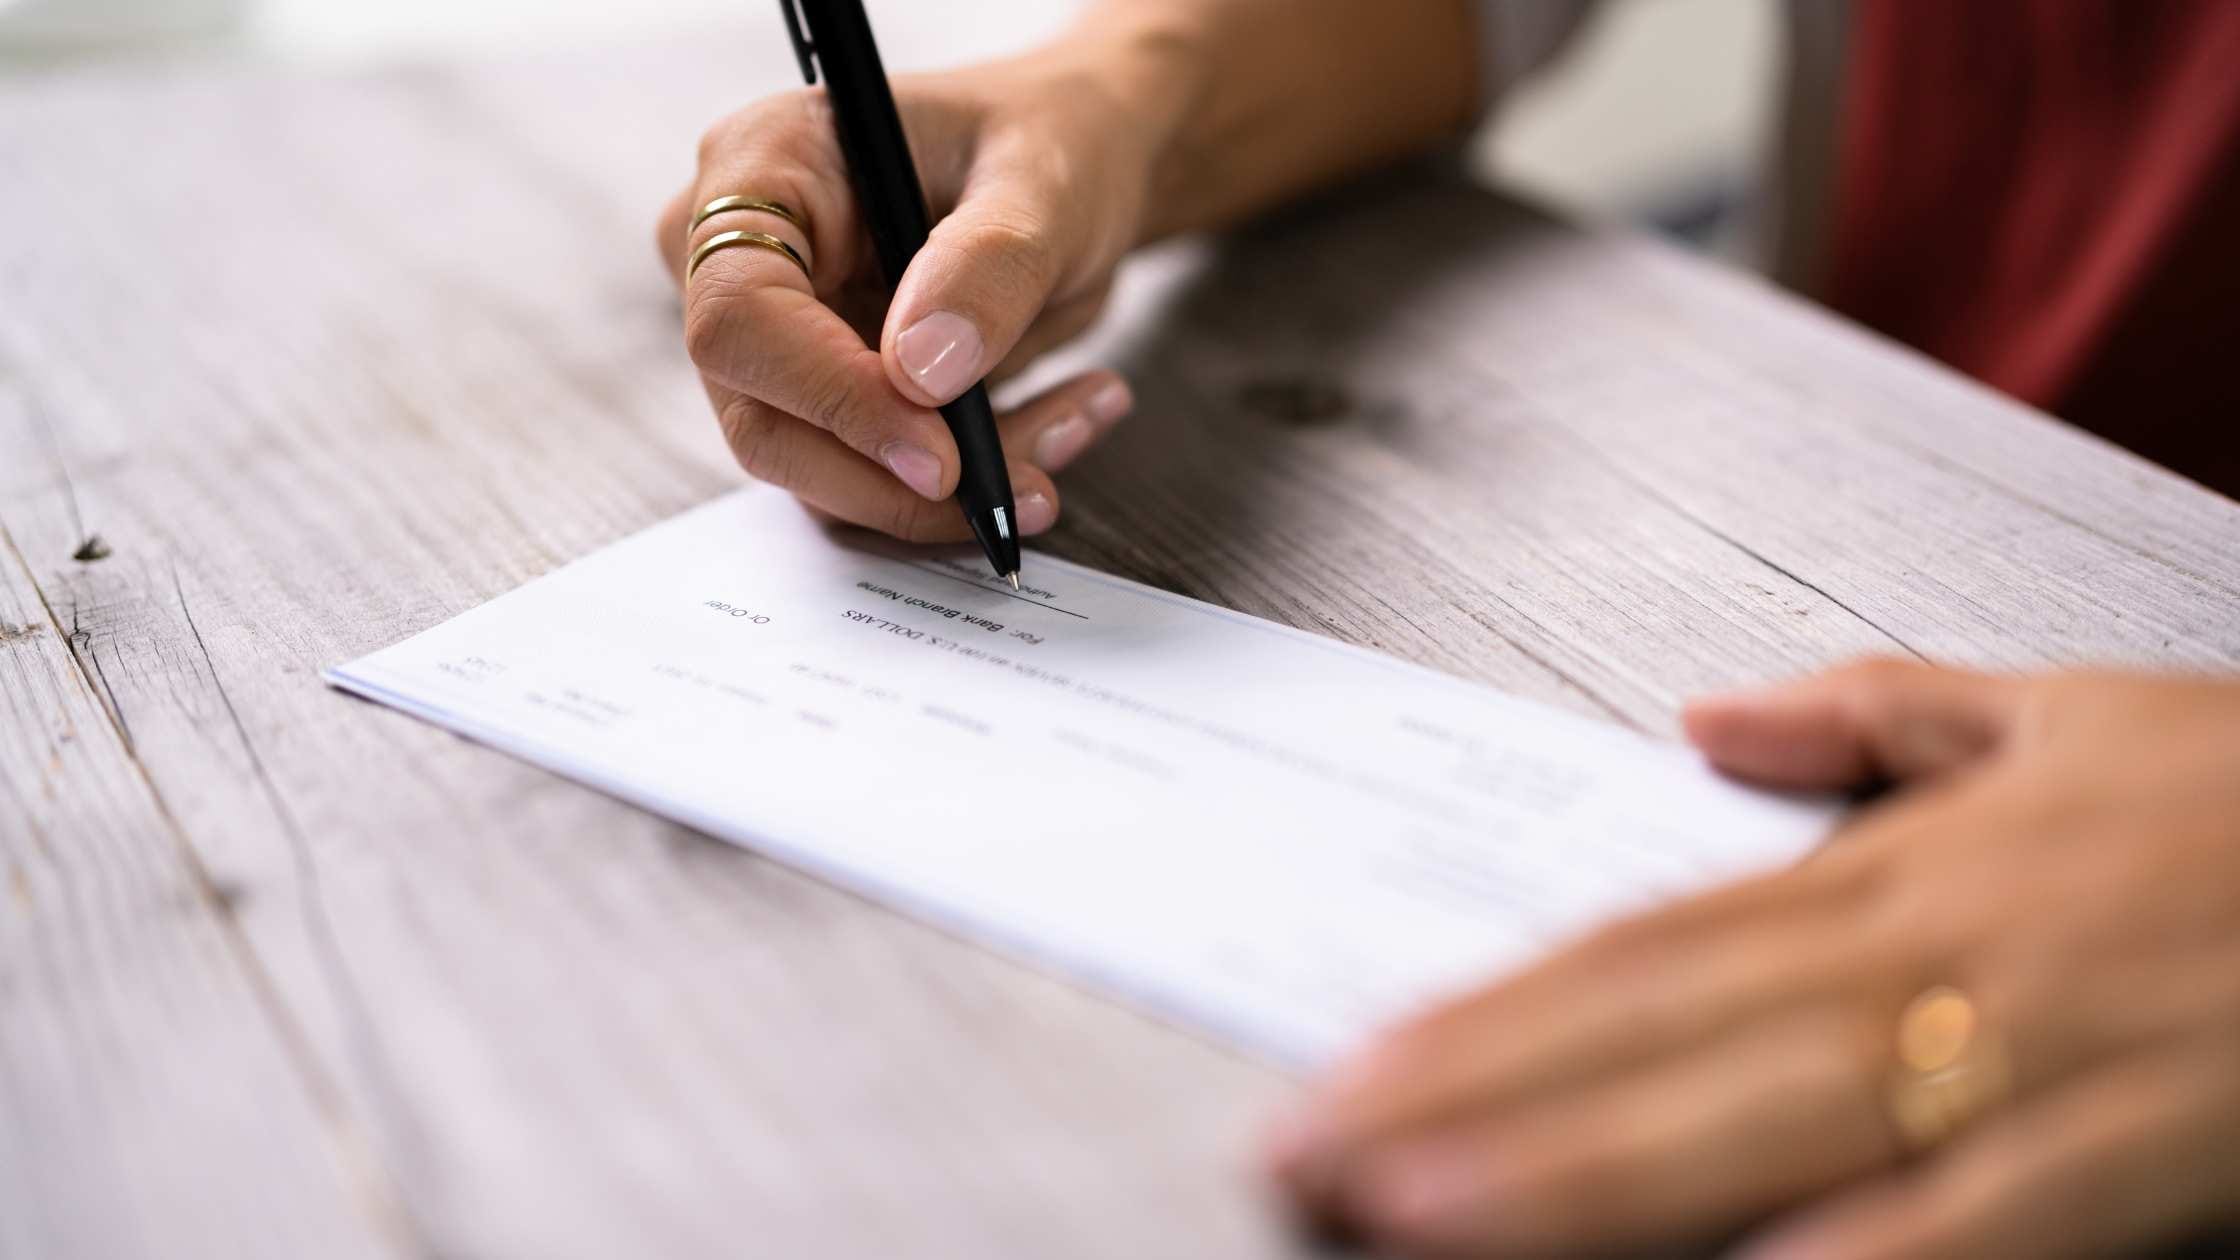
Even in today's world of online banking, digital wallets, and mobile payment apps, knowing how to write a check remains an essential skill. While many people rarely use checks, there are still situations where they are necessary. Whether you need to pay rent, make a down payment on a home, or send a gift, writing a check correctly ensures that your payment is processed smoothly and securely.
If you have never written a check before or need a refresher, this comprehensive guide will walk you through every step of the process. You will also learn about the different parts of a check, common mistakes to avoid, and why checks are still relevant.
Why Knowing How to Write a Check is Important
While checks are not as widely used as they once were, there are still plenty of situations where you may need to write one. Some common reasons include:
- Paying rent – Many landlords still prefer or require rent to be paid via check, especially if they do not accept electronic payments.
- Making a down payment on a home or car – Large transactions often require checks for security and record-keeping purposes.
- Paying government fees – Some government agencies, such as the DMV or passport offices, only accept checks or money orders.
- Paying small business owners or contractors – Some independent contractors, such as plumbers, landscapers, or babysitters, prefer checks because they avoid credit card processing fees.
- Donating to charities or community organizations – Many nonprofits and churches still accept donations primarily through checks.
- Avoiding processing fees – Some businesses charge an extra fee for credit card transactions, but they may accept checks without any additional cost.
- Sending money as a gift – A check can be a safer and more convenient way to gift money compared to cash.
Now that you know why checks are still important, let’s go through the process of writing a check correctly.
Understanding the Parts of a Check
Before filling out a check, it’s essential to understand the different sections and what they mean. A standard check includes the following parts:
- Date Line – Located in the top right corner, this is where you write the date when the check is issued.
- Payee Line – The “Pay to the Order of” line is where you write the name of the person or business receiving the check.
- Amount Box – This small box on the right side is where you write the payment amount in numerical form.
- Amount Line – Below the payee line, this is where you write the payment amount in words.
- Memo Line – Located in the bottom left corner, this optional section allows you to add a note about the purpose of the payment.
- Signature Line – The bottom right section is where you sign your name, which authorizes the check.
Each of these sections must be filled out properly to ensure the check is valid. Let’s go through each step in detail.
Step 1: Write the Date
Start by writing the date in the upper right-hand corner of the check. The date should be written clearly and legibly in the format of month, day, and year. For example, you can write:
- February 5, 2025
- 2/5/25
The date should reflect the day you are writing the check unless you are postdating it.
Postdating a check means writing a future date to delay when the check can be cashed, but keep in mind that banks may still process it immediately if deposited before the date written.
Step 2: Write the Payee’s Name
On the line that says “Pay to the Order of,” write the name of the person or business that will receive the check. Make sure to spell the name correctly, as any mistakes could cause issues when the payee tries to deposit the check.
If you are unsure of the correct name of a business, check with them directly. Some businesses require checks to be made out to a specific entity rather than a general brand name.
For example, instead of writing “Joe’s Auto Repair,” you may need to write “Joe’s Auto Repair, LLC.”
If you are writing a check to an individual, use their full name rather than a nickname to prevent any banking issues.
Step 3: Write the Payment Amount in Numbers
Locate the small box on the right side of the check. This is where you will write the exact amount you are paying in numerical form. Be sure to write the numbers clearly and correctly.
Here are a few examples:
- $150.75 (for one hundred fifty dollars and seventy-five cents)
- $2,500.00 (for two thousand five hundred dollars)
To help prevent fraud, always write the numbers as close to the left side of the box as possible. This ensures no one can add extra digits before or after your amount.
If there is extra space, draw a line from the end of your amount to the edge of the box to prevent any unauthorized changes.
Step 4: Write the Payment Amount in Words
Below the payee line, write the payment amount in words to match the numerical amount written in the box. This serves as an extra security measure, as banks will refer to the written amount if there is a discrepancy.
For example, if the check is for $150.75, write:
- One hundred fifty and 75/100
If the check is for a whole dollar amount, add “and 00/100” to indicate no cents, such as:
- Two thousand five hundred and 00/100
Draw a line after the written amount to prevent anyone from altering the amount.
Step 5: Fill Out the Memo Line (Optional)
The memo line is optional, but it is a good habit to use it for record-keeping. The memo line is located in the bottom left corner of the check and can be used to indicate what the payment is for.
Some examples of what you might write in the memo line include:
- Rent payment – February
- Invoice #12345
- Birthday gift
- Water bill – Account #56789
This section helps both you and the recipient keep track of the purpose of the payment.
Step 6: Sign the Check
The final step in writing a check is signing your name in the bottom right-hand corner. This is crucial because a check cannot be processed without a valid signature.
Use your regular signature that matches what is on file with your bank. If your signature does not match, the check may be rejected.
Common Mistakes to Avoid When Writing a Check
Even though writing a check is simple, making mistakes can lead to problems. Here are some common errors to avoid:
- Writing incorrect information – Always double-check the payee’s name, amount, and date before finalizing the check.
- Using a pencil – Always use a pen to prevent alterations or fraud.
- Leaving blank spaces – Fill in all sections completely and draw lines where necessary to prevent changes.
- Forgetting to sign – A check is not valid without your signature.
- Mismatched amounts – Ensure the written and numerical amounts match exactly.
Common Questions Related To Writing A Check Answered
How Do You Void a Check?
If you make a mistake while writing a check or need to cancel it, you can void it by writing “VOID” in large, clear letters across the front of the check.
This prevents anyone from filling it out and using it fraudulently. If the mistake is minor, you may choose to cross out the error and initial it, but voiding is the safest option.
If you are voiding a check for direct deposit setup or automatic payments, your employer or bank may request a copy. In this case, do not destroy the check—simply mark it as void and submit it as needed.
Always record voided checks in your check register to maintain an accurate financial record and ensure your bank balance remains correct. Shred voided checks when they are no longer needed.
How to Write a Check to Yourself?
Writing a check to yourself is simple. In the payee line, write your own name. This is useful if you need to transfer money between accounts or withdraw cash from one bank to deposit it in another.
What to Do After Writing a Check?
After writing a check, keep a record of it in your checkbook register or online banking app. Note the date, payee, amount, and check number to track your spending and ensure your balance remains accurate.
Suggested readings for you:
- Is It Possible to get a Work From Home Job With No Experience?
- Steps to start a Business: where and how to Begin
- How To Use Swagbucks Surveys to Pay For Prime Video
- 21 Ways to Get Paid to Type
Final Thoughts
Knowing how to write a check is an important financial skill, even in an increasingly digital world. While electronic payments are more common, checks are still required in many situations.
By following this guide, you can confidently fill out a check and avoid errors that could lead to payment issues.
Whether you are paying rent, covering a bill, or sending money as a gift, writing a check properly ensures your payment is processed smoothly. Keep a few checks on hand, even if you do not use them often, because you never know when you might need one.


