In this post, I’ll walk you through 22 incredible RV renovation ideas on a budget that are as practical as they are stunning. I’ve personally found the best RV hacks for you to save hundreds by doing these simple DIY upgrades, and I’ll share those tricks too.
Whether you’re dreaming of glam interiors or smart functionality, there’s something here for every budget-conscious RVer.
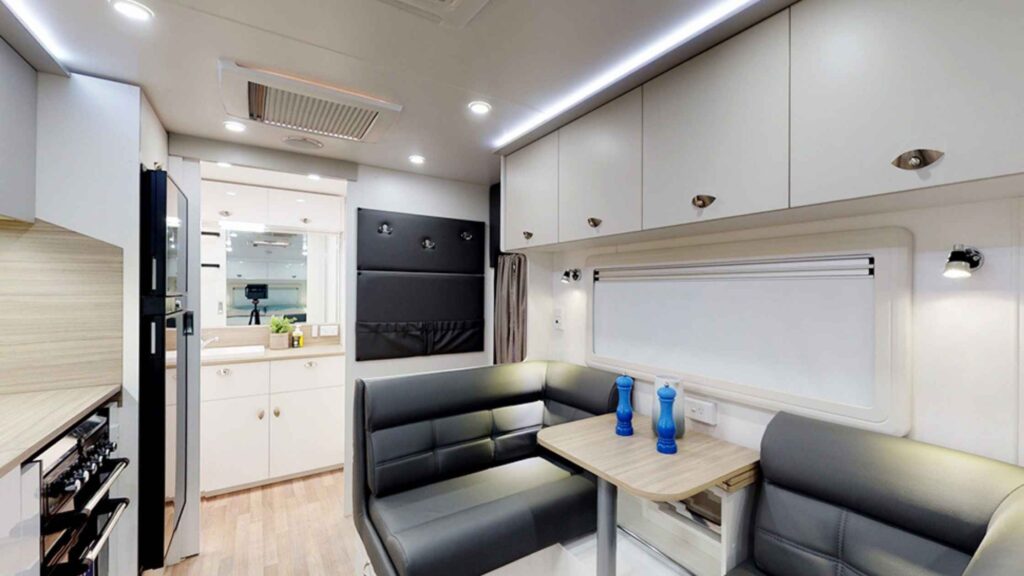
1. Paint Your Ceiling a Light Neutral Color
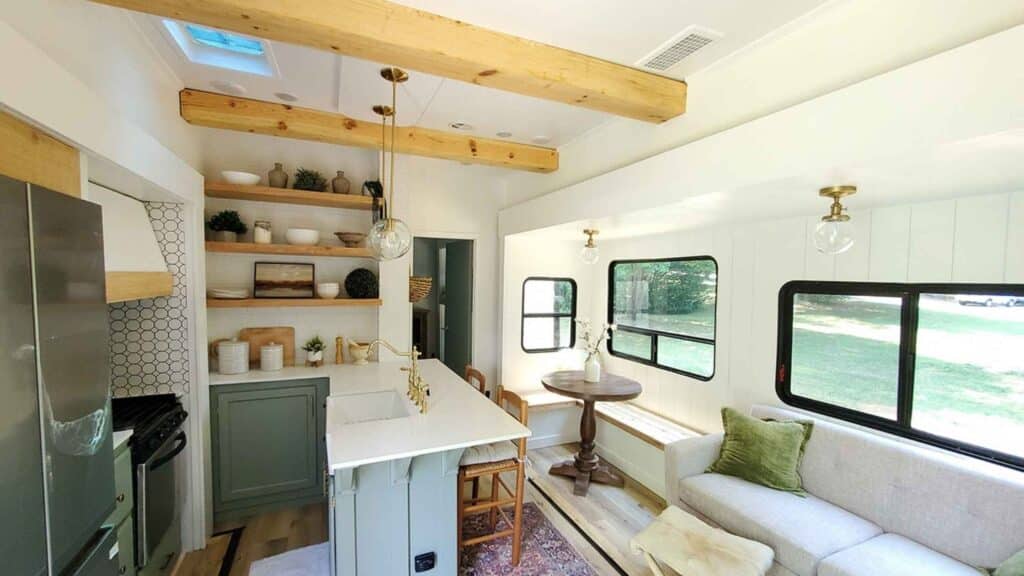
Most RV ceilings are bland and easily overlooked. But with a quart of light neutral paint (under $25), you can create a cozy, spacious feeling that anchors your entire interior. It’s a bold move that pays off in personality.
Neutral tones help make even the smallest of RVs feel more spacious and comfortable. If you want to get even more creative, you can add beams running side to side if your RV stands tall enough to add even more character.
2. Add a Fold-Down Desk or Vanity
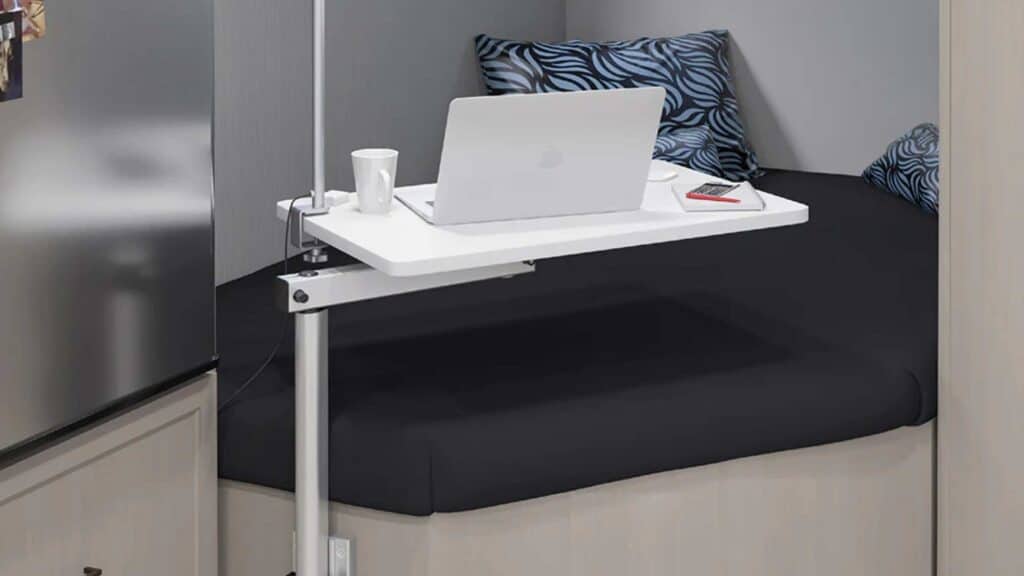
If you work or get ready on the road, mount a fold-down panel to the wall. Use scrap wood and simple hinges to make a compact desk or vanity that stores flat. It’s sleek, useful, and costs less than $40 to build.
3. Install Adventurous RV Decals

Skip real art or heavy frames and use peel-and-stick decals to mimic windows, nature scenes, or abstract art. A $10 decal can change the mood of an entire wall and is easily removable when you’re ready to switch it up.
4. Create a Sliding Barn Door
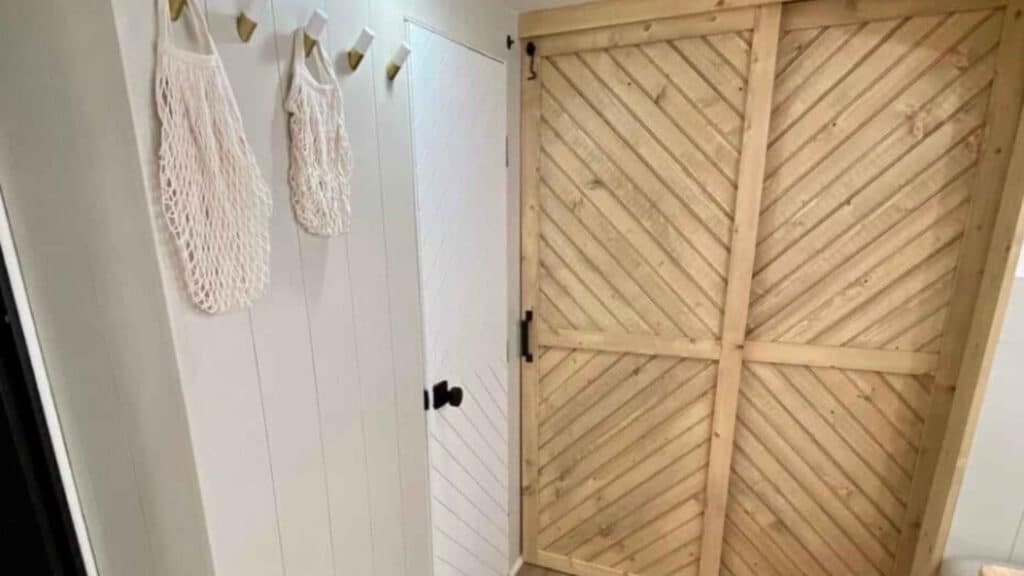
Instead of replacing a door, paint it to look like a barn door and attach faux handles or rail-style accents with adhesive strips. It’s a visual upgrade without the weight or cost of actual hardware—around $20 for materials.
5. Convert a Closet into a Coffee Nook
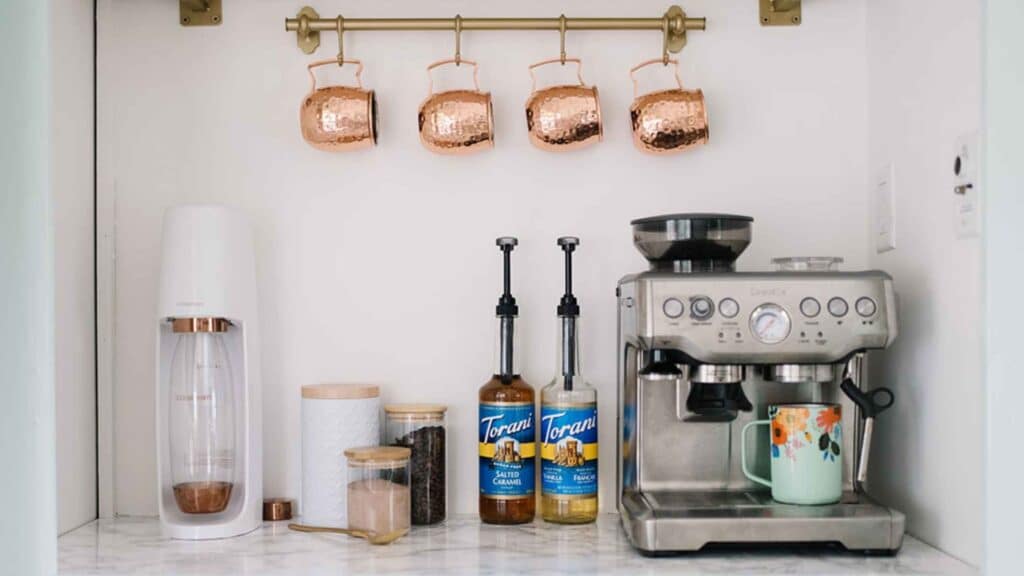
Transform an underused cabinet or closet into a dedicated coffee bar. Add a small shelf, hooks for mugs, and LED strip lights. This cozy space makes mornings feel special, and you’ll spend under $50 to make it happen.
6. Build a Lofted Pet Bunk or Storage Nook

Use wasted vertical space by creating a small loft for your pet’s bed or storage bins. You can build a custom platform with plywood and paint for less than $30—and it doubles as adorable Instagram content.
7. DIY Bathroom Towel Organizer
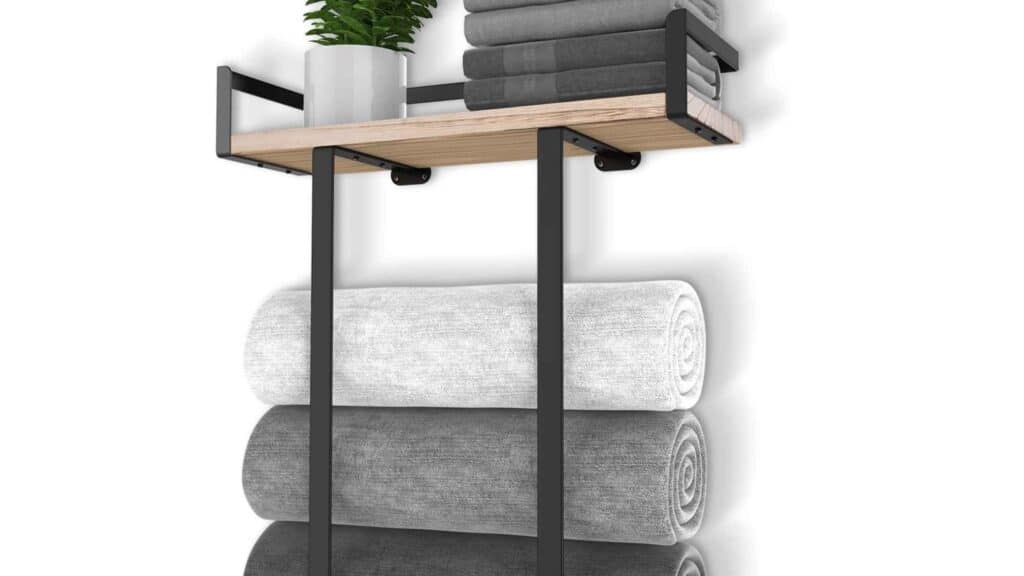
Instead of spending money on new curtains, make your own macrame-style dividers with thick cord or yarn. It gives your RV a boho upgrade for around $15 and softens transitions between spaces with texture and charm.
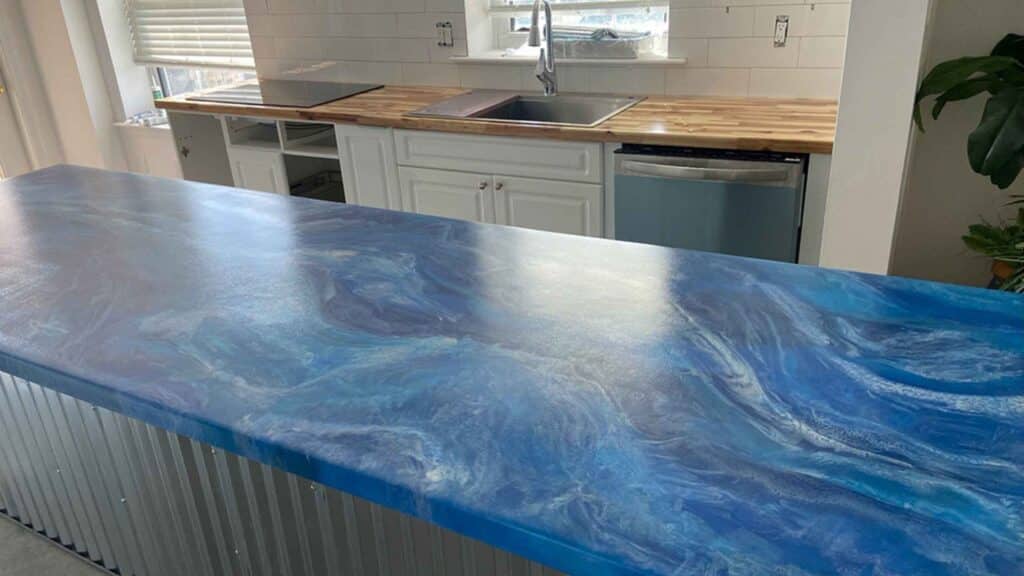
8. Make Your Own Epoxy Countertops
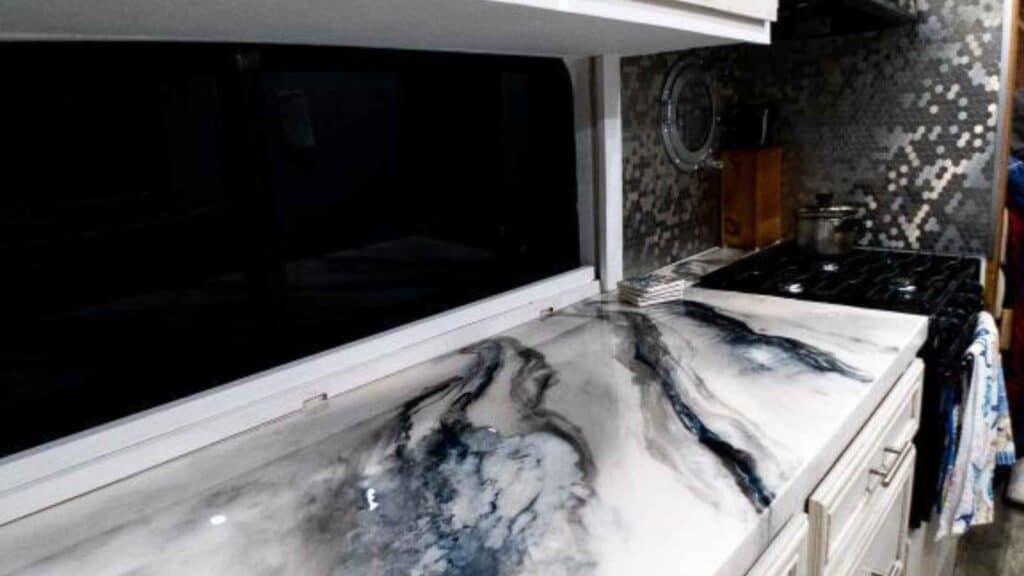
Why replace your countertops when you can create ones that look like quartz, marble, or granite using epoxy? With a basic pour kit (starting around $40), you can transform tired RV counters into luxe-looking surfaces.
Add metallic powders, swirling color veins, or even a map layer sealed beneath the resin to personalize it. I’ve seen travelers embed coins, photos, or pressed flowers for ultra-creative flair.
It’s durable, water-resistant, and shockingly affordable compared to full replacements—plus, it’ll make your RV feel like a designer loft on wheels.
9. Add a Dry-Erase Command Center to the Fridge
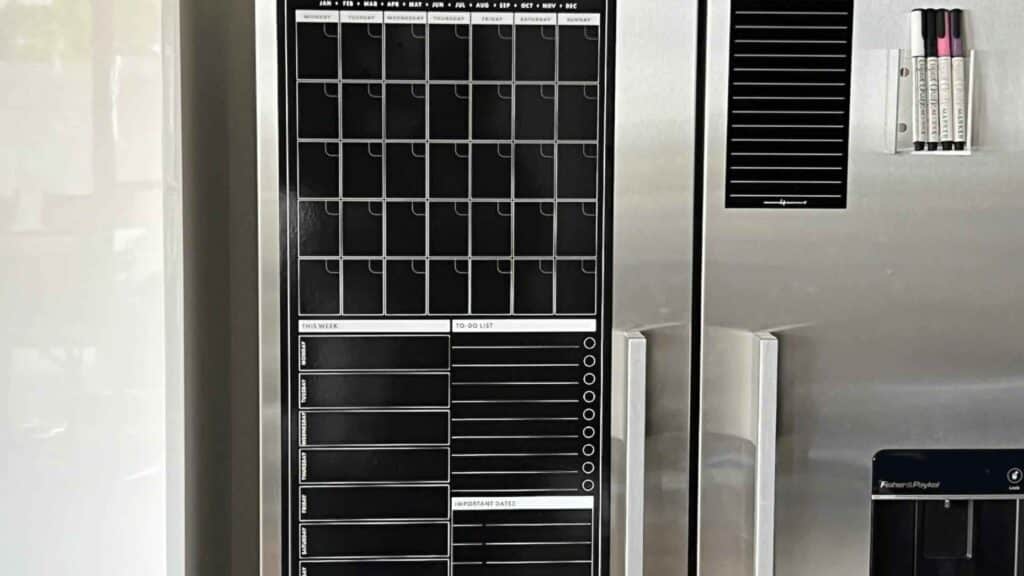
Use dry-erase vinyl sheets to create a command center for meal planning, to-do lists, and travel routes. It’s magnetic, moveable, and customizable for under $15. Plus, it adds instant organization with no clutter.
10. Install Skylights with LED Panels
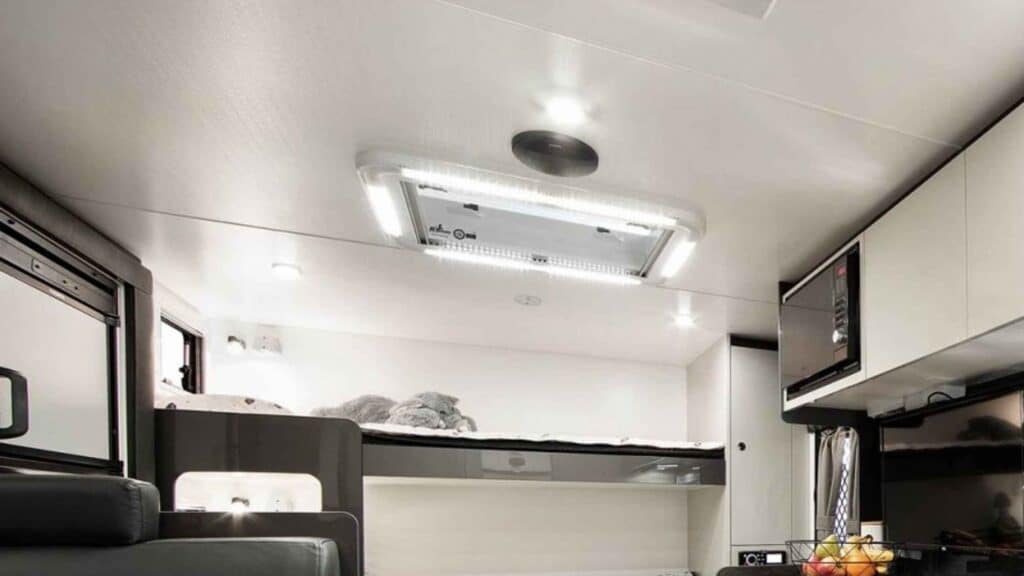
Create the illusion of skylights by installing lightweight LED panels with daylight-toned bulbs. Frame them with painted trim for effect. This costs about $40 total and instantly opens up your ceiling space with light.
11. Create an Indoor Herb Garden in Magnetic Jars
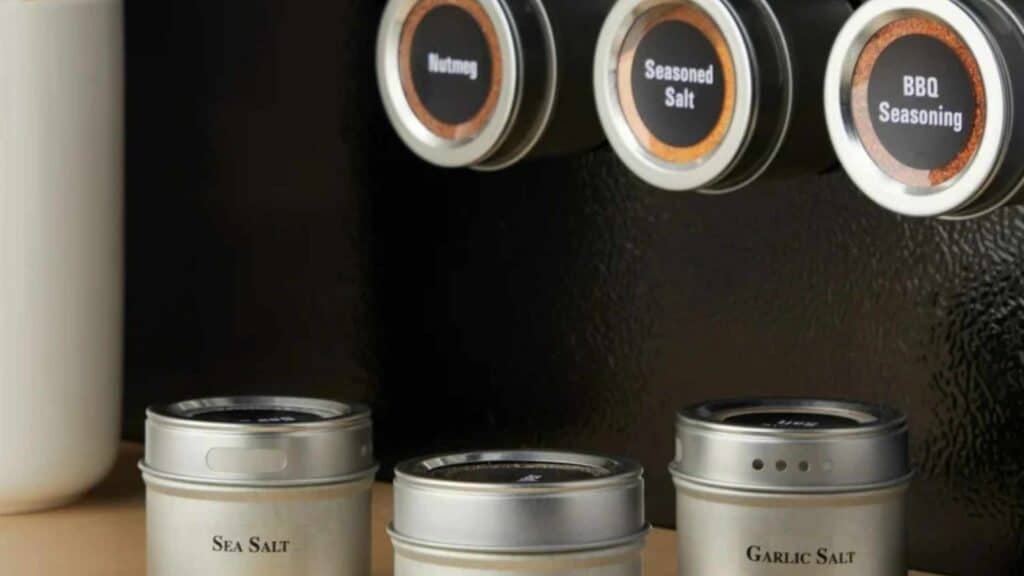
Stick magnetic spice jars to a metal strip or fridge and plant herbs in them. They’re practical, aesthetic, and keep your cooking fresh. Total cost? Under $25 for a whole living wall of green.
12. Storage Ottomans
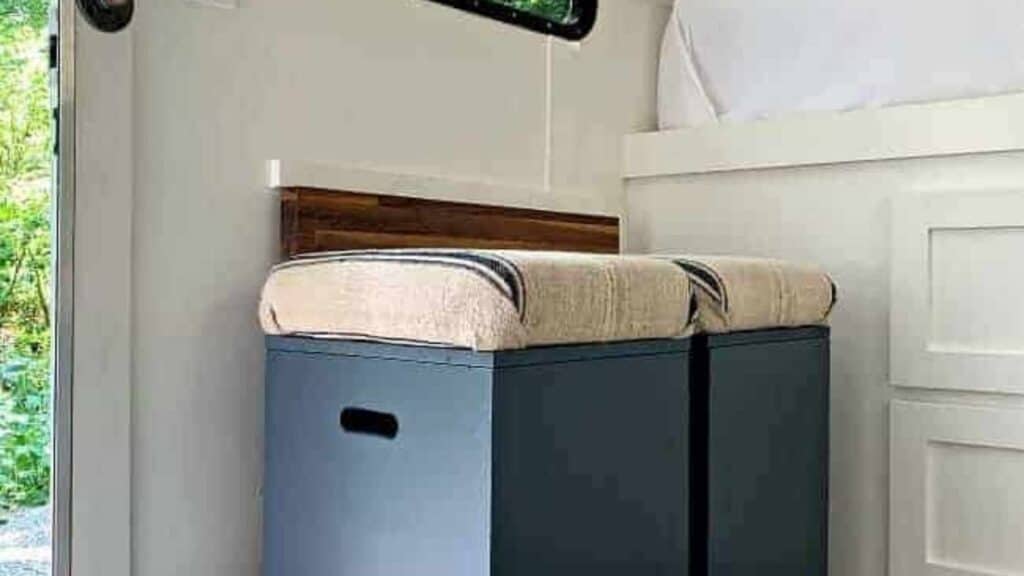
Find some wooden boxes and paint your desired color then add foam padding and fabric to create unique ottomans with hidden storage. It’s nostalgic, fun, and typically costs $10–$20 per case at flea markets.
You can use these 2 in 1 ottoman ideas almost anywhere, such as creating ottoman dining chairs or a leg rest by your RV sofa. You can never have too much storage space in an RV and almost anything goes here with this idea.
13. Use Resin-Poured Counter Inserts
If you’re crafty, create resin trays that fit into your sink or stovetop for extra counter space. Use dried flowers, maps, or glitter for a personalized touch. Kits start at $25, and they’re functional art!
Nothing like a fresh kitchen update, which is why I created these 12 Jaw-Dropping DIY Kitchen Ideas You Can Actually Do Yourself!
14. Install a Retractable Hanging Drying Rack
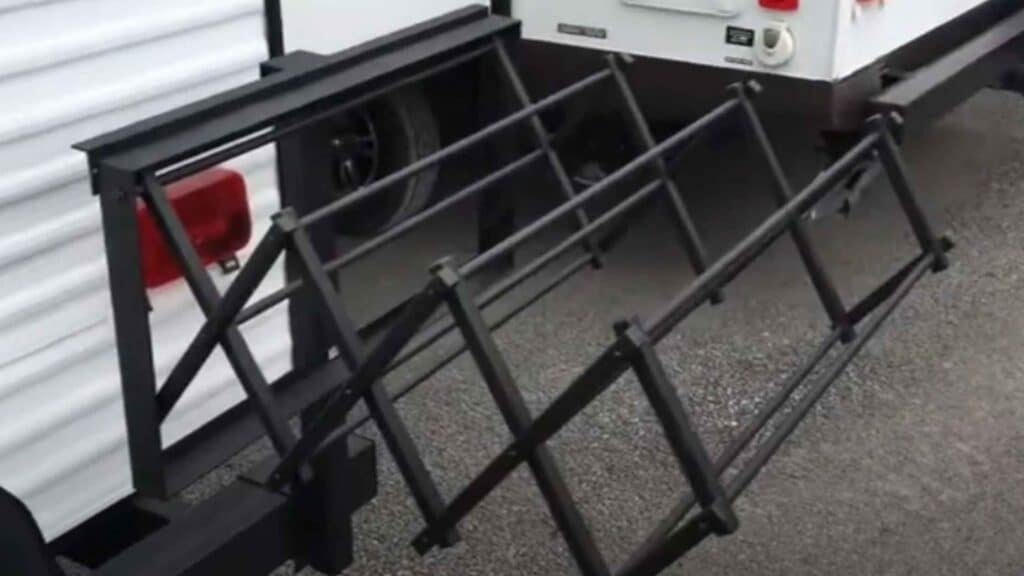
Hang a collapsible drying rack under a cabinet or near a vent. It folds away when not in use and is perfect for towels, socks, or swimsuits. A DIY version can be done with dowels and hinges for around $20.
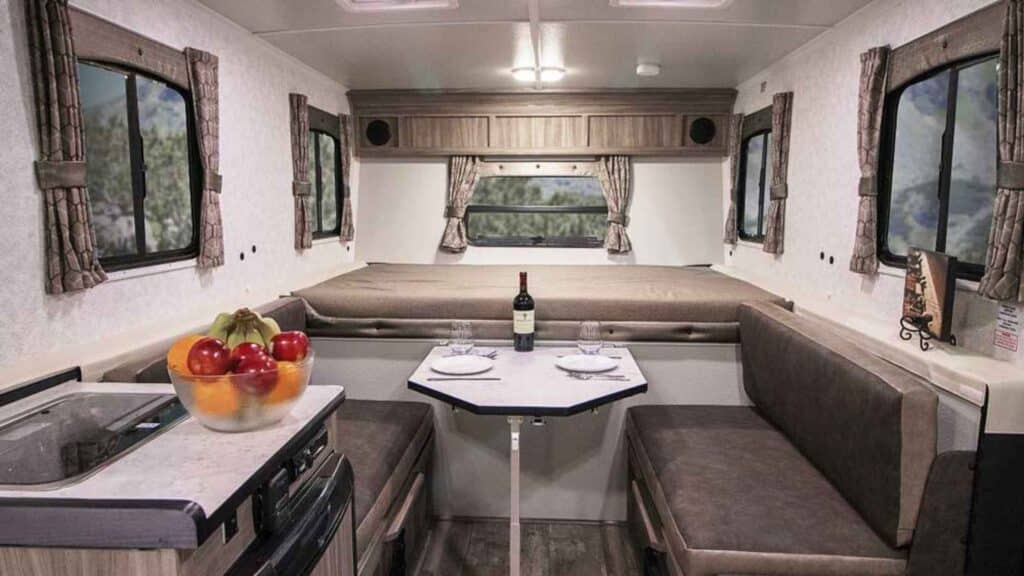
15. Convert a Window into a Folding Breakfast Bar
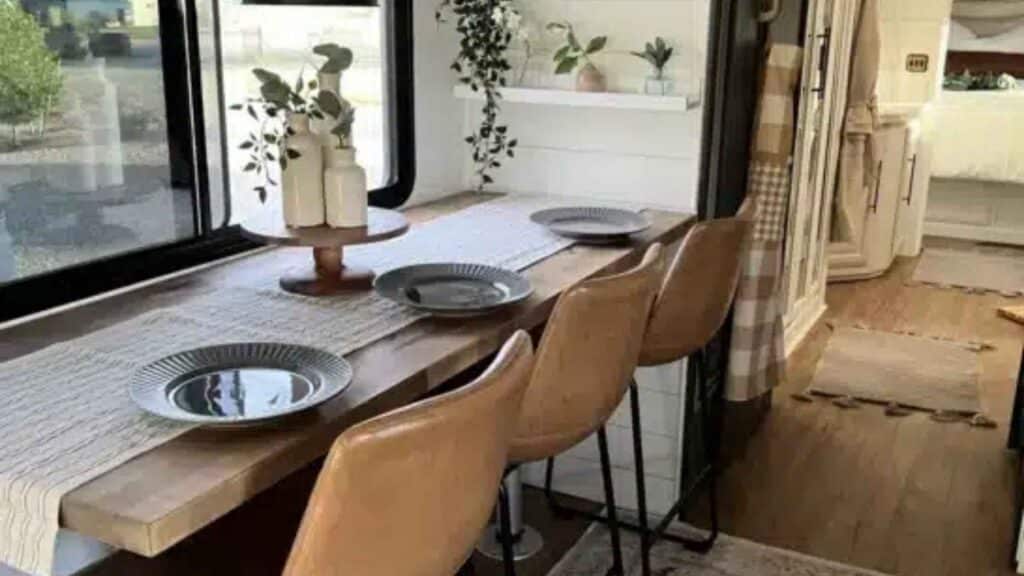
Maximize your RV’s scenic views by turning a large window into a fold-down breakfast bar. Use a slim, hinged wood panel that rests flush when not in use and props up with a support arm or leg when needed.
Pair it with a couple of compact stools, and you’ve got an instant dining or laptop workspace with a view—no floor space sacrificed. This project costs around $30–$50 and feels like a boutique café tucked into your camper.
16. DIY Ambient Lighting with Color-Changing LEDs
Install smart LED strips with remote-controlled color settings. It’s under $30 and lets you shift the mood from cozy reading nook to party mode in seconds—without changing your layout.
17. Transform a Bunk into a Hidden Home Theater Pod
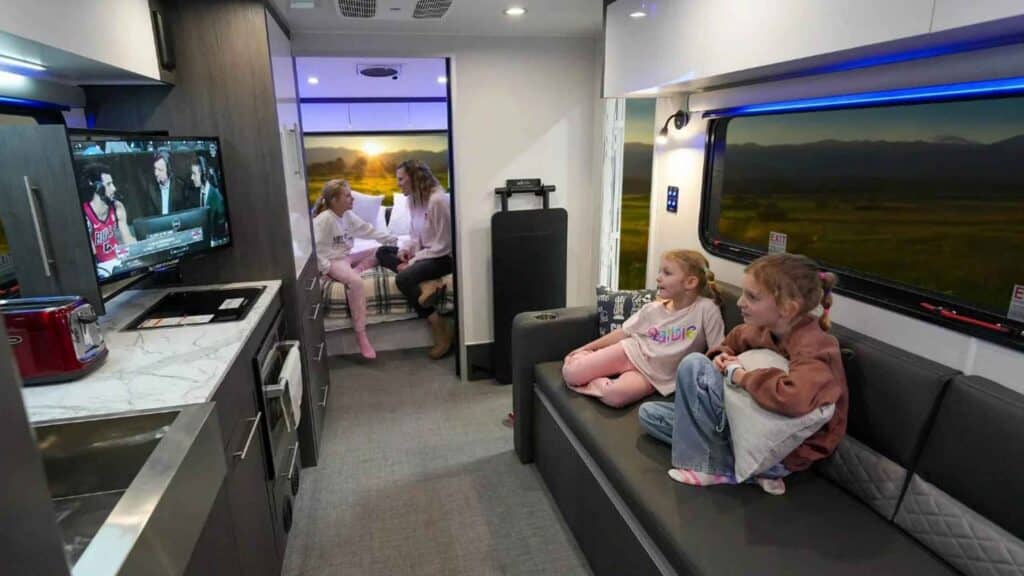
Instead of just a reading nook, go full entertainment mode by converting a lower bunk into a cozy mini home theater. Line the walls with acoustic foam panels (under $30), install a fabric ceiling for ambiance, and mount a tablet or mini projector at the foot of the bed.
Add blackout curtains, LED mood lighting, and USB charging ports for a tech-forward setup. This renovation costs around $60–$80 but turns an unused sleeping area into a private cinema perfect for movie nights or rainy-day escapes.
18. Build a Slim Slide-Out Pantry Between the Fridge and Wall
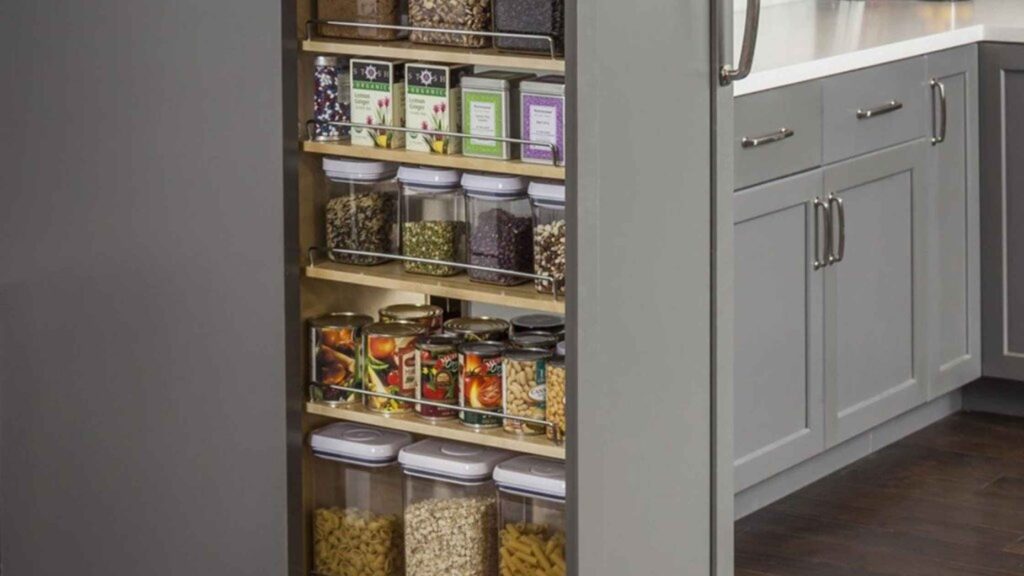
That awkward sliver of space next to your fridge? It’s prime real estate for a DIY slide-out pantry. Using scrap wood, caster wheels, and a few brackets, you can build a narrow shelving unit that pulls out smoothly and hides away perfectly.
Store spices, cans, or dry goods in a vertical space you didn’t even realize you had. It’s a high-impact storage solution for around $30, and it feels like a custom RV upgrade that would cost ten times more in a showroom.
19. Paint a Mural or Accent Pattern with Stencils
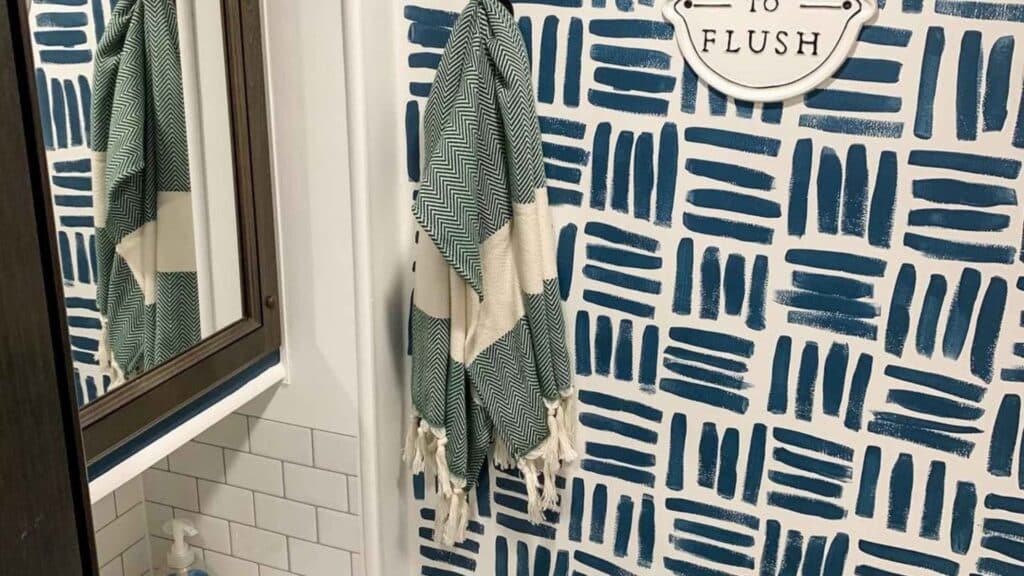
Instead of wallpaper, use a stencil and leftover paint to add a geometric or organic pattern to a wall or backsplash. It’s artistic, cheap, and uniquely yours—stencils are reusable and cost about $12.
20. Create a Magnetic Knife Strip with Wood and Magnets
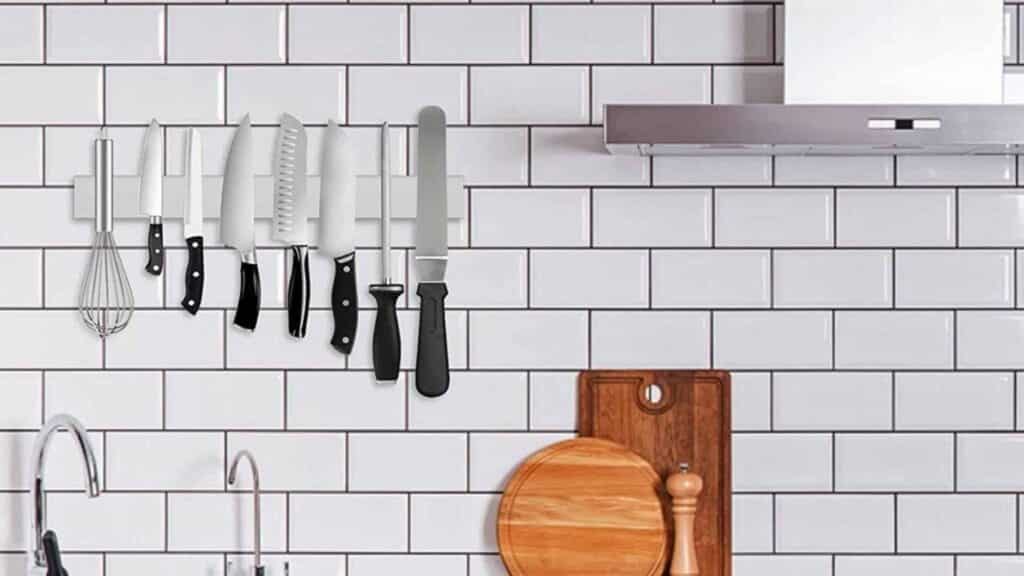
Glue powerful magnets behind a wooden plank and mount it near the kitchen area. It’s a clean and professional way to store knives without drawers—safe and stylish, for under $15.
You might also want to read these 20 DIY Home Decor Projects For Your Home. Most of them can easily be installed in your RV if you want even more inspiration for your renovation.
21. Make a Collapsible Dining Table
Find a lightweight hollow door, trim it down, and hinge it to the wall for a collapsible table solution. Add legs or support brackets. It’s a fun, custom piece under $50 that adds serious charm.
22. Install a Slide-Out Dog Feeding Station Under a Cabinet
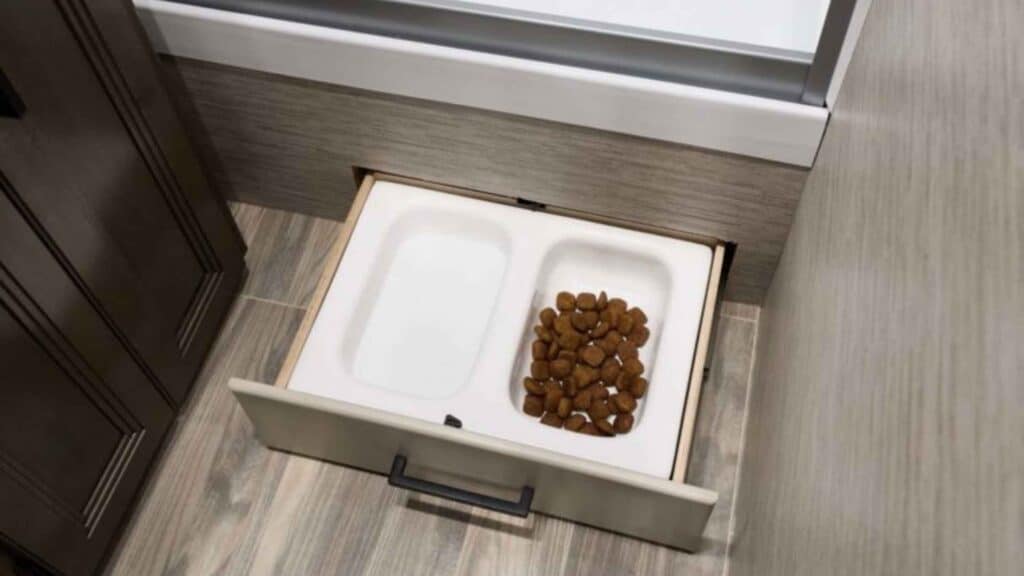
If you travel with a furry companion, this upgrade is a game changer. Convert the bottom section of a kitchen cabinet or dinette bench into a slide-out feeding drawer. Use a shallow tray or install stainless steel pet bowls in a cutout so they stay in place while driving.
It keeps pet bowls off the floor, avoids spills, and tucks away when not in use. You can build it for around $25–$40, and it makes your RV feel custom-tailored for your whole family—four-legged members included.
See how you can make money with your RV and make up to 4k a month with it.
questions For rV renovation ideas on a budget
How much should I budget per renovation idea?
On average, you can expect to spend $15–$60 per project. Smaller updates like magnetic organizers or tiebacks are under $20, while flooring or backsplash options might go up to $200.
Can I handle these DIY upgrades, or do I need a pro?
All 22 ideas are DIY-friendly. Many involve adhesive products, simple tools like a screwdriver or hot glue gun, and basic sewing. None require electrical rewiring or plumbing work.
Will these upgrades affect my RV’s weight or fuel efficiency?
Most materials (like peel-and-stick film, pegboards, or lightweight fabric) add minimal weight. Heavy wood pieces, like shelving, are crafted from pallets or thin boards, so overall impact is tiny.
How do I keep it affordable while still looking stylish?
Shop curbside for scrap wood, reuse jars and cloth, watch for sales at craft stores, and choose peel-and-stick solutions. I often couponed and saved 30–50% on supplies—just a little planning goes a long way.
Hope these ideas inspire you to revamp your RV without draining your savings. Let me know which ones you’re excited to try—I’d love to hear about your transformation journey!
Did you know you could start your own RV business today? I created a guide on how you can earn money in today’s untapped RV market.
Source List
Best RV renovation ideas on a budget, helpful products:
RV Renovation Ideas On A Budget
All 22 of these rv renovation ideas on a budget are unique, wallet-friendly, and easy to DIY. My favorite? The peel-and-stick backsplash—it cost under $50 and gave the whole space a modern feel.
And the floating shelves? They cost next to nothing and added so much character. Just pick a few upgrades and space them out over travel days or weekends. You’ll save money, customize your rig, and enjoy each step of the transformation.
Before you know it, your RV will be stylish, personalized, and built for adventure—without breaking the bank.